
Main Courses
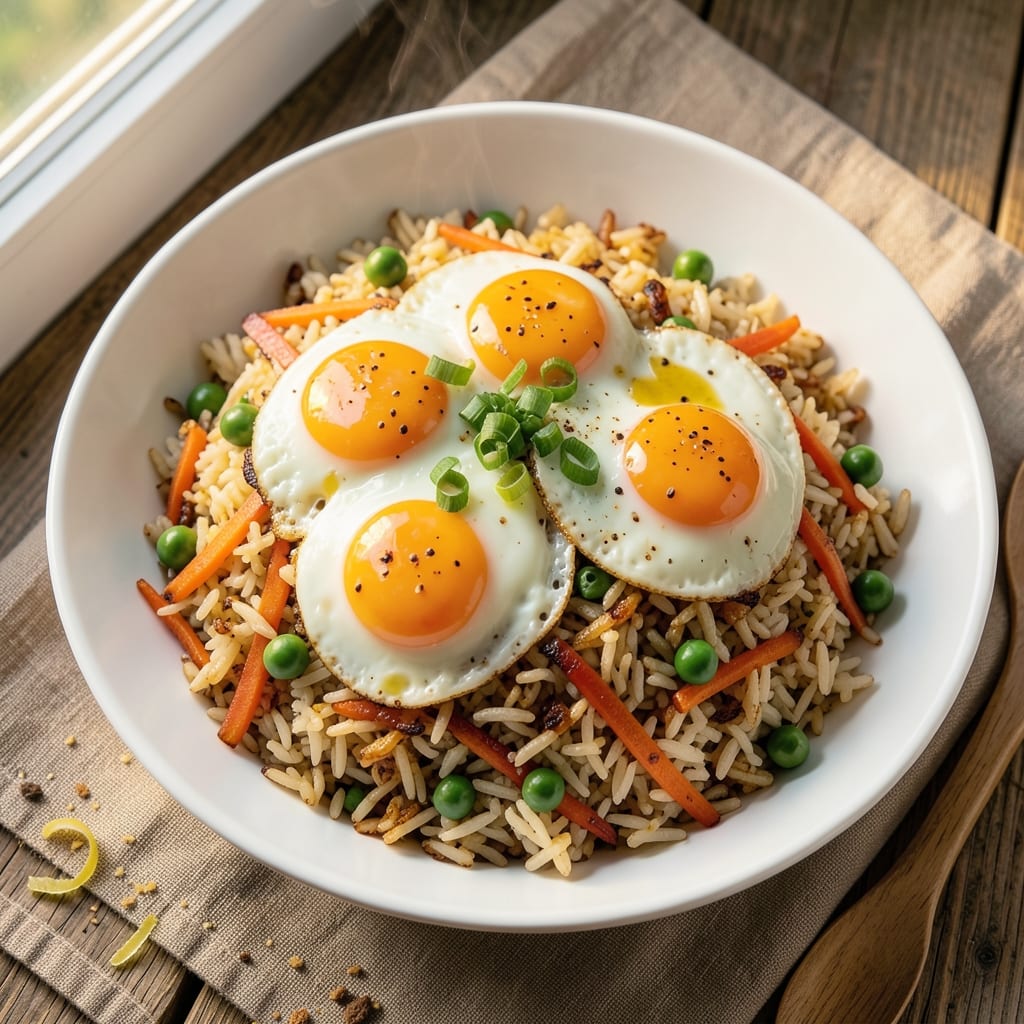
This airfryer fried rice recipe transforms leftover rice into a crispy-edged, flavor-packed dish with minimal effort—no skillet required. The air fryer’s high-heat circulation creates that coveted wok-like texture while keeping the grains fluffy inside. I’ve perfected this method after testing countless variations, and the results are restaurant-quality without the mess. What sets this apart is the technique: cold rice (day-old works best) gets tossed with a high-heat oil blend before crisping in the air fryer. This ensures crispy edges without drying out the center, a common stovetop struggle. Optional proteins like shrimp or scrambled eggs can be added post-cook to maintain texture. By the time you’re done, you’ll have golden, aromatic fried rice with a perfect balance of savory, umami, and slight sweetness. The air fryer’s even heat distribution means no burnt spots or uneven cooking—just consistent, foolproof results every time. Serve as a main dish or alongside grilled meats for a complete meal. Ready in under 20 minutes, this recipe is your new weeknight hero. Let’s get started!
Ingredients for airfryer fried rice
Cold rice, high-heat oil, and umami-packed sauces create crispy-edged fried rice with restaurant-quality texture.
| Ingredient | Amount | Notes |
|---|---|---|
| Day-Old Cooked White Rice 🍚 | 3 cups | Cold rice preferred for crispiness |
| Avocado Oil 🫒 | 2 tbsp | High smoke point for crisping |
| Sesame Oil 🫒 | 1 tbsp | For authentic aroma |
| Eggs 🥚 | 2 whole | Scrambled post-cook optional |
| Frozen Peas 🌱 | ½ cup | Thawed for texture |
| Carrots 🥕 | ½ cup | Finely diced, medium size |
| Green Onions 🧅 | ¼ cup | Sliced, white and green parts |
| Garlic Cloves 🧄 | 4 cloves | Minced for depth |
| Low-Sodium Soy Sauce 🍶 | 3 tbsp | For umami balance |
| Oyster Sauce 🍶 | 1 tbsp | Optional for richness |
| Sesame Seeds 🌾 | 1 tbsp | Toasted for garnish |
| Salt 🧂 | ½ tsp | Adjust to taste |
| Black Pepper 🌶️ | ¼ tsp | Freshly ground preferred |
| Shrimp (Optional) 🦐 | ½ lb | Peeled, deveined, cooked separately |
The rice is the foundation—day-old works best as it’s drier and absorbs flavors better. Jasmine or basmati rice holds up well to the air fryer’s heat, but any leftover grain will do. For the oil, avocado oil’s high smoke point is non-negotiable—it prevents burning while creating those coveted crispy edges. Sesame oil adds aroma but use sparingly; it’s potent. If you’re using shrimp, cook it separately and add back at the end to maintain texture. The air fryer basket’s ridges help create wok-like texture without sticking, but lightly spray with oil if needed.
No sesame oil? Toasted peanut oil at half the amount works surprisingly well. Substitute oyster sauce with an extra tablespoon of soy sauce plus a splash of rice vinegar for brightness. Frozen peas are ideal here—they thaw quickly and maintain their bright color. If using fresh, blanch them first to preserve texture. The optional shrimp can be swapped for chicken breast or tofu cubes, but cook them separately to avoid moisture release. For extra crispiness, toss the rice with a light coating of cornstarch before air frying—just don’t overdo it or the rice will turn gummy.
Rice reheats beautifully in the air fryer—just toss with a spritz of water and 2 minutes at 375°F. Store leftovers in an airtight container for up to 4 days in the fridge, though it’s best within 2 days for optimal texture. For freezing, portion into single servings and reheat directly from frozen for 3 months. The sesame seeds can be toasted in a dry pan for 30 seconds before adding to the rice—worth the extra minute for that nutty aroma. Garnish with extra green onions and a drizzle of sesame oil for restaurant-quality presentation.
Why You'll Love This Recipe
- No Leftovers Wasted: I swear by using day-old rice—it’s the secret to that perfect texture. No soggy mess, no extra cooking, just crispy edges and fluffy centers every time.
- One-Pan Magic: Avocado oil and sesame oil work together like a dream—minimal cleanup, maximum flavor. Toss everything in the air fryer basket, press start, and walk away.
- Budget Meal Powerhouse: Frozen peas and eggs keep costs low, but the result? A dish that feels fancy without breaking the bank. My wallet and my family thank me every time.
- Crispy, Creamy, Addictive: The air fryer gives the rice that irresistible crunch while the eggs stay silky. Honestly, the first bite makes me want to make it again before the pan even cools.
Step-by-step instructions for airfryer fried rice
Transform your day-old rice into restaurant-quality fried rice with crispy edges and fluffy grains using just one pan.
Prep and Preheat the Airfryer
First, break up the 3 cups day-old cooked white rice with your fingers or a fork to separate any clumps. Cold rice works best here—it prevents mushiness when cooked. Transfer the rice to a large bowl and set aside.
Preheat your airfryer to 375°F for 5 minutes. This temperature ensures even cooking while creating those coveted crispy edges. While it heats, finely dice the 0.5 cup carrots into small, even pieces—think rice grain-sized. Mince the 4 cloves garlic cloves and slice the 0.25 cup green onions into ½-inch pieces. Thaw the 0.5 cup frozen peas in a colander under warm water for 2 minutes to speed up cooking.
Stir-Fry Aromatics and Protein
In a large nonstick skillet (or airfryer basket if large enough), heat 2 tbsp avocado oil over medium-high heat until shimmering. Add the diced carrots and cook for 3 minutes until they begin to soften. Add the minced garlic and cook for 30 seconds until fragrant—don't let it brown or it'll turn bitter.
If using the 0.5 lb shrimp, add it now and cook for 2-3 minutes until just opaque. Remove shrimp from the pan and set aside. The shrimp will finish cooking later in the airfryer. Keep the skillet heat going—you'll use it for the eggs next.
Scramble Eggs and Combine Ingredients
Push the cooked vegetables to one side of the skillet and crack the 2 whole eggs into the empty space. Scramble them gently with a spatula until just set—about 1 minute—then mix them into the vegetables. Add the thawed peas and cook for 1 minute to warm through.
Pour the rice into the skillet and stir-fry everything together for 2 minutes, breaking up any remaining clumps. Drizzle in the 3 tbsp low-sodium soy sauce, 1 tbsp oyster sauce, and 1 tbsp sesame oil. Add the 0.5 tsp salt and 0.25 tsp black pepper, then mix well. If using shrimp, return them to the pan now.
Finish in the Airfryer for Crispy Perfection
Transfer the entire mixture to your preheated airfryer basket, spreading it into an even layer. Sprinkle the 1 tbsp sesame seeds evenly over the top. Airfry at 375°F for 8-10 minutes, shaking the basket gently every 2 minutes to prevent sticking and promote even browning.
You're looking for golden-brown edges and slightly crispy spots on the surface—this is your signal for doneness. The rice should be hot throughout with no cold spots. If it needs more crispiness, return to the airfryer for 1-2 minutes longer.
Rest and Serve Immediately
Let the fried rice rest for 2 minutes before serving—this allows the flavors to meld and the rice to firm up slightly. Garnish with additional sliced green onions if desired. Serve immediately while still hot, with extra soy sauce on the side if needed.
The result should be perfectly crispy edges with fluffy, separate grains throughout. Each bite should deliver a balance of savory, slightly sweet, and umami flavors with a satisfying crunch from the airfryer finish.
Pro Tips For Making Airfryer Fried Rice
- CRANK THE HEAT FIRST: Air fryers lose power as they heat up—start at 390°F (200°C) for the first 2 minutes to sear the eggs and rice before dropping to 375°F (190°C). I learned this the hard way after making mushy eggs that stuck to the basket like regret.
- DON’T THAW THE PEAS: Toss frozen peas straight into the air fryer basket with the rice—they’ll thaw and crisp slightly from the residual heat while everything else cooks. Skipping this step saves 3 minutes and keeps them from turning into sad, limp mush.
- BREAK THE RICE CLUMPS: Day-old rice is your friend, but only if it’s actually broken up. Use your hands (yes, even if you’re impatient like me) to separate any stubborn clumps before adding oil—this guarantees even cooking and that prized "separate grains" texture.
- SALT THE RICE FIRST: Season the dry rice with a pinch of salt before adding oil—it distributes flavor evenly and prevents bland spots. I was skeptical until I tried it: the rice tastes more cohesive, like it’s holding onto every speck of seasoning instead of hiding it.
Flavor customization for this airfryer fried rice
Spicy Kick Options
Add ½ tsp of gochujang paste or 1 tsp sriracha> to the sauce mixture for a Korean-inspired heat. For a smoky depth, stir in ¼ tsp smoked paprika> with the garlic. I love finishing with red pepper flakes> (start with ¼ tsp>) and a squeeze of lime for brightness. 🌶️
Sweet and Tangy Twist
Balance the savory flavors with 1 tbsp honey> or 1 tsp maple syrup> mixed into the soy sauce. A splash of rice vinegar> (1 tsp) adds tanginess, while a pinch of white pepper> enhances warmth. Top with toasted candied pecans> for crunch and sweetness.
Umami Bomb Upgrade
Boost depth with 1 tbsp fish sauce> (substitute with ½ tsp MSG> if avoiding fish) or 1 tsp miso paste> stirred into the sauce. For extra richness, add 1 tbsp hoisin sauce> or a dash of Worcestershire sauce>. These ingredients elevate the dish to next-level restaurant quality. ✨
Herbaceous Freshness
Brighten the dish with 1 tbsp chopped cilantro> or 2 tbsp sliced green onions> mixed in at the end. Fresh basil or mint leaves add a surprising but delicious twist. For a Mediterranean flair, toss in ¼ cup chopped parsley> after cooking and garnish with lemon zest.
Cheesy and Creamy
Stir in ¼ cup shredded cheddar> or monterey jack> during the final air fryer stage for a Tex-Mex fusion. Add 2 tbsp sour cream> or Greek yogurt> after cooking for creaminess. Top with crumbled cotija cheese> and a drizzle of chipotle crema> for a bold finish. 🧀
Protein Swaps
Swap shrimp for ½ lb diced rotisserie chicken> or ½ lb crumbled bacon> for smoky flavor. For vegetarian, add ½ cup cubed tofu> (pan-fried first) or ½ cup chickpeas> for protein. Cook proteins separately to maintain texture and add them back at the end. 🍳
Nutrition facts
Frequently asked questions
Why does the recipe call for day-old rice?
Day-old rice is drier and holds its shape better when cooked again, preventing that dreaded mushy texture. The air fryer's high heat works best with slightly stale rice—it creates those perfect crispy edges while keeping the center fluffy. Freshly cooked rice has too much moisture and will turn gummy in the air fryer.
Can I use fresh rice instead of day-old?
Yes, but you'll need to spread it on a baking sheet first and dry it in the air fryer at 350°F for 10 minutes before following the recipe. This removes excess moisture. For best results, though, stick with day-old rice—it's the secret to that restaurant-quality texture.
What's the best way to prevent sticking in the air fryer?
Lightly grease the air fryer basket with avocado oil before adding the rice mixture, and give it a gentle shake every 2 minutes during cooking. The recipe's high oil content helps too—don't skip the sesame oil! For stubborn sticking, use a silicone spatula to scrape the bottom after cooking.
How do I make this extra crispy?
Toss the rice with 1 teaspoon cornstarch before air frying for maximum crunch, or increase the temperature to 390°F for the last 2 minutes of cooking. For best results, use a well-seasoned air fryer basket—newer models may need more frequent shaking.
Can I make this with brown rice?
Brown rice works but requires extra care—it needs 2-3 minutes longer in the air fryer and benefits from being pre-toasted at 375°F for 5 minutes before mixing with other ingredients. The texture will be nuttier and slightly chewier than white rice. For best results, use a 1:1 ratio but check for doneness at 10 minutes.